
Gear and rig planning for videographersBuild the rig on screen before you discover the missing piece on set.
Track camera bodies, lenses, cages, monitors, power, audio, support, media, and cables as owned equipment, then assemble reusable rigs and assign them to the shoot.
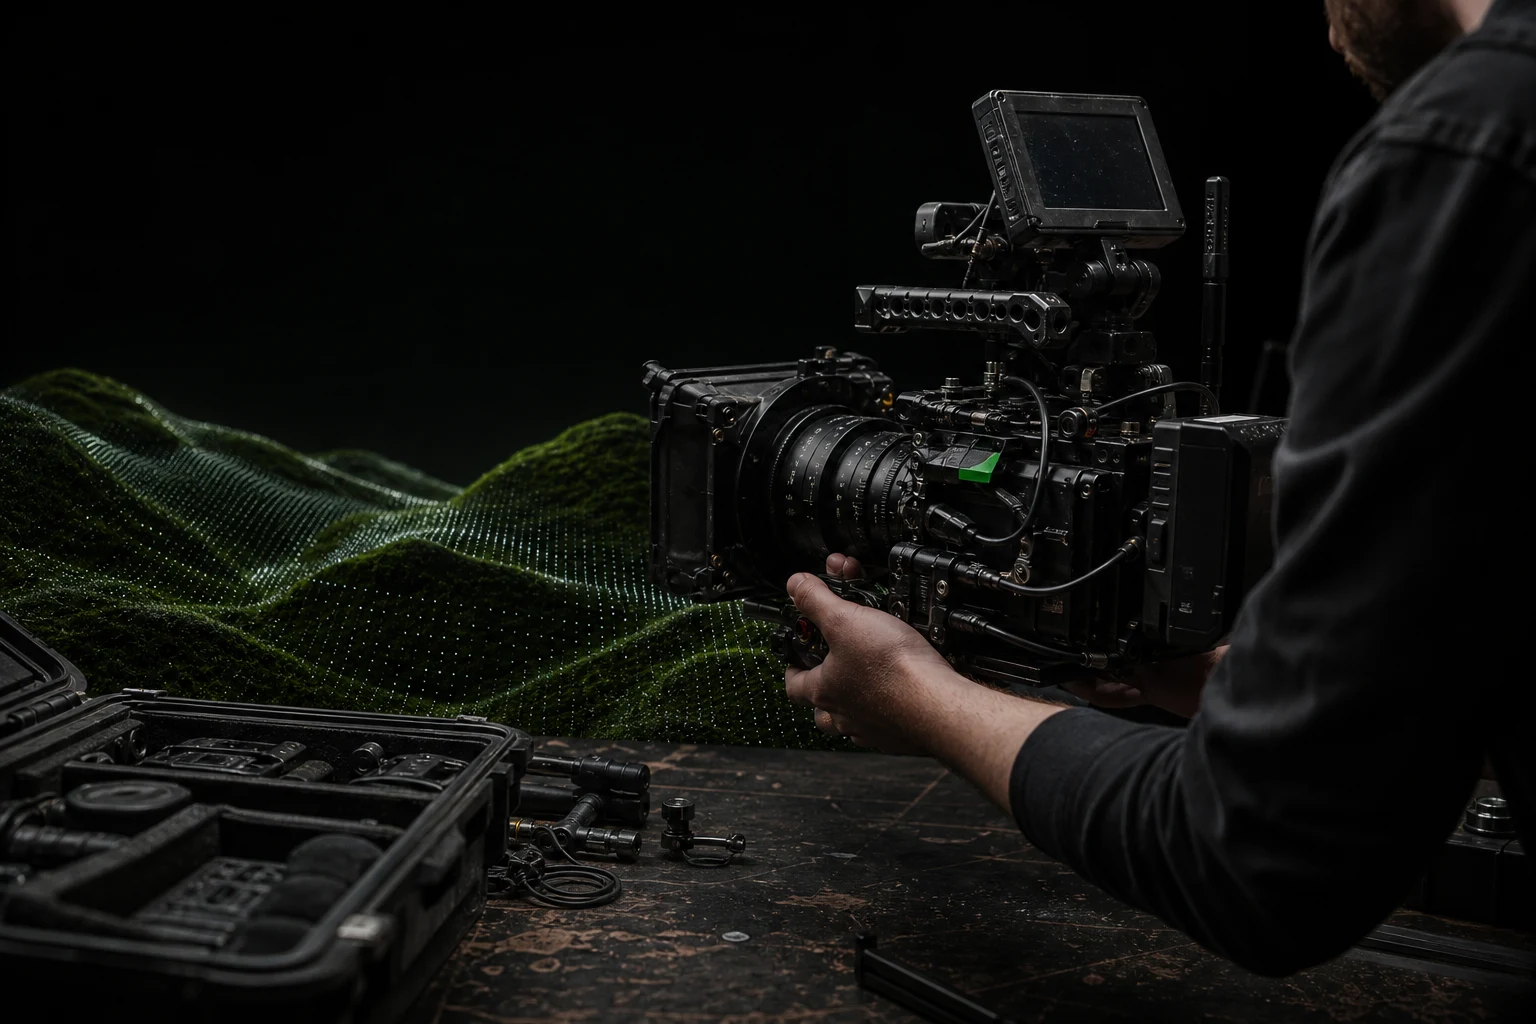
A cinema rig fails at its smallest dependency: the wrong cable, the missing plate, the tired battery, or the part left on another build.
What does GearDex do for videographers?
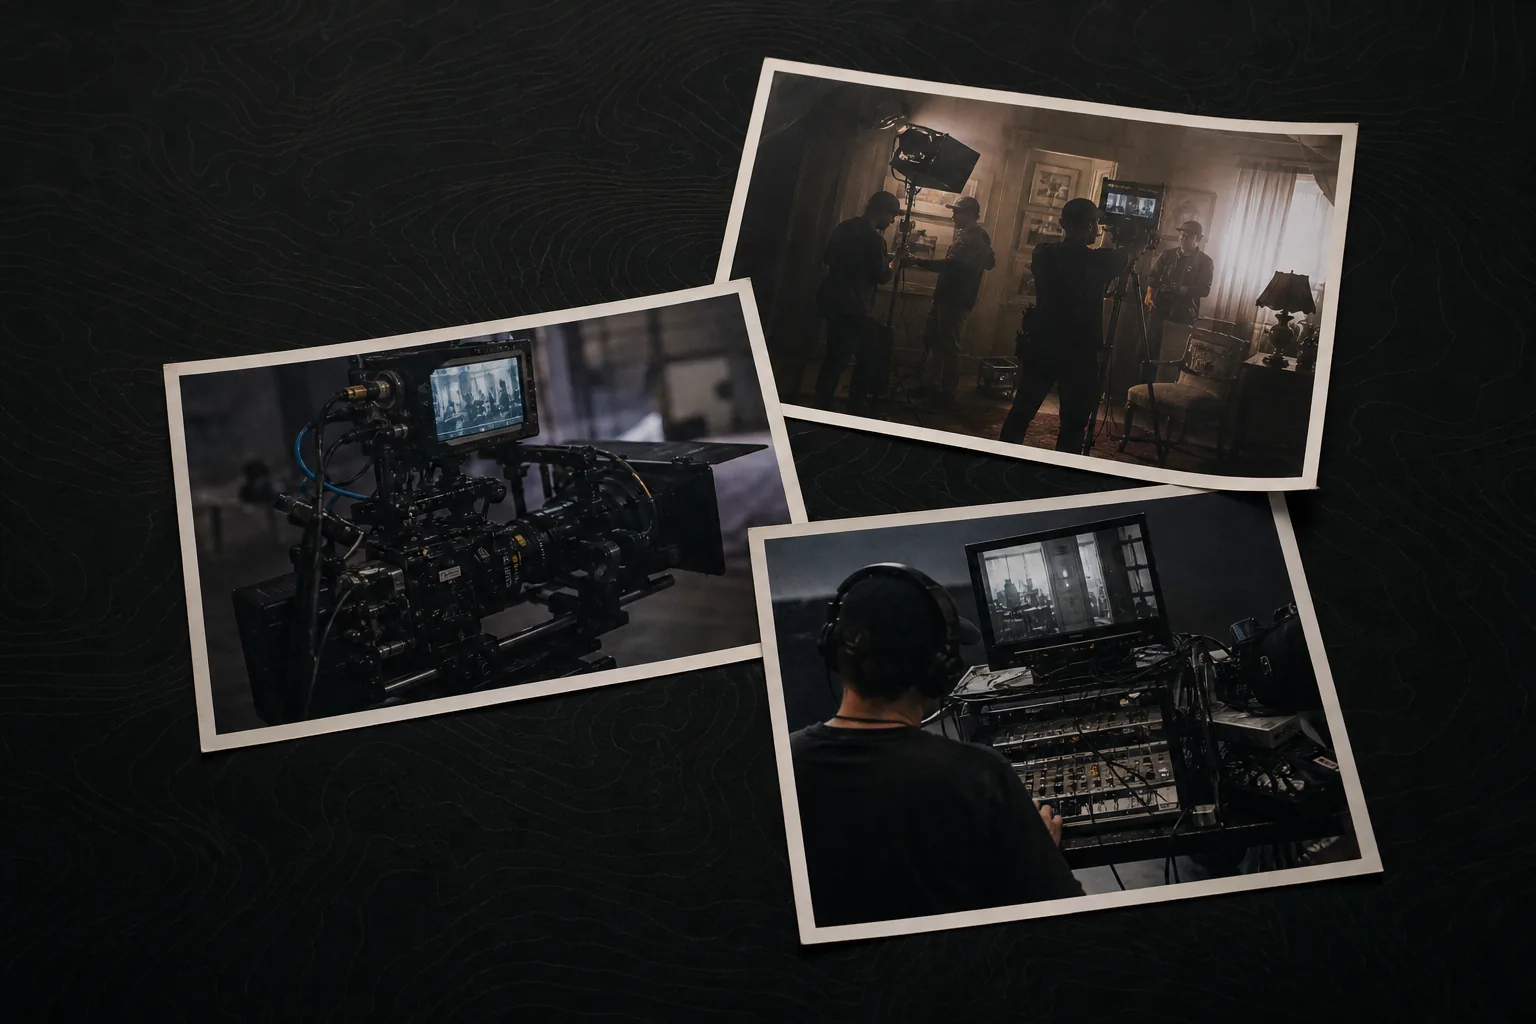
GearDex catalogs video production gear down to the plates, cables, V-mount batteries, and media, then lets you assemble reusable rigs from the parts you own. Each rig totals its component weight and value, gets assigned to a shoot, and keeps every part's serial, documents, and service history attached.
Rigs & QR labelsPro+
Rigs built from owned parts
Assemble an interview, handheld, or gimbal build from the bodies, lenses, cages, and monitors you own. The rig totals weight against its limit and tracks value.
Explore rigs & QR labels
Gear libraryAll plans
Monitors, cages, and media, cataloged
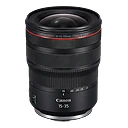
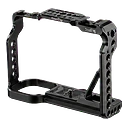
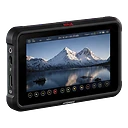
Monitors, cages, gimbals, and cards get their own records next to the bodies and lenses, each with a type, value, and status.
Explore gear library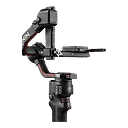
Shoot planningAll plans
Builds assigned to the shoot
Each shoot plan holds the client, date, call time, and location, plus the rig it uses and whether that rig is under its weight limit.
Explore shoot planningMaintenanceStudio
Wear logged to the component
Log repairs, calibration, and sensor cleaning against the exact body, lens, or light, with status and cost.
Explore maintenanceTry it on your own kit.
Starter is free for up to 25 items. No credit card required.
Treat the rig as a system, not a shopping list
Each component keeps its own ownership and service record. The rig shows how those parts work together for a specific camera role.
- 01
Once
Catalog the parts
Record bodies, lenses, cages, rails, handles, monitors, transmitters, microphones, batteries, media, support, and adapters.
OutputA searchable parts shelf with values, condition, documents, and location.
- 02
Prep day
Assemble the rig
Create a reusable build for handheld, tripod, gimbal, interview, studio, or travel work and add the owned items it needs.
OutputA named rig with total value and weight based on its components.
- 03
Call sheet
Assign it to the shoot
Connect the rig and supporting gear to the production plan, location, date, notes, and packing decisions.
OutputOne source for the build and the job it is meant to serve.
- 04
After wrap
Record the wear
After wrap, note cable failures, loose mounts, battery issues, sensor work, or parts that should not return to the next build.
OutputA maintenance trail tied to the exact component, not a vague rig note.
Rig records need technical context
The item record proves what you own. The rig adds the compatibility, weight, and role needed to put those items to work together.
Example rig output
Two-camera interview package
A component-level build that makes the dependencies visible before the van is loaded.
The dependency column is where most preventable failures show up. It forces the small part into the same plan as the expensive one.
Camera chain
- Body
- Lens
- Mount
- Adapter
- Media
Monitoring and audio
- Monitor
- Transmitter
- Microphone
- Receiver
- Cable path
Power and support
- Battery system
- Runtime notes
- Tripod or gimbal
- Plate
- Total weight
Ownership
- Serial number
- Purchase value
- Current estimate
- Location
- Service history
Set it up before the next job.
Three steps take you from a list in your head to a record the whole workflow can use.
- 01
Add the kit
Type a model and Smart Add fills in the specs, or bring your spreadsheet in with the free CSV template.
Smart Add & import - 02
Attach the evidence
Add serial numbers and item photos, then drop receipts and warranty cards onto the gear they cover.
Documents & warranties - 03
Build the first rig
Assemble your most-used camera build from owned parts, then print a QR label for each piece from its gear record.
Rigs & QR labels
Pro covers the working rig
Starter is useful for a small kit. Pro adds the rig builder, unlimited inventory, documents, reports, and unlimited shoot plans.
Compare all plansStarter
Free
A compact personal kit
Up to 25 items, 10 categories, search, filters, mobile access, and three shoot plans.
ProBest fit
$4/month
A working photographer or filmmaker
Unlimited items and shoot plans, documents, warranty tracking, reports, trends, the rig builder, and QR labels.
Studio
$19/month
Shared equipment operations
Everything in Pro, plus loans, maintenance, studio analytics, and access to Studio features as they become available.
Questions about GearDex for videographers
Still unsure? Visit help and support.
The rig builder can total the weight of components when their records include weight data. It also keeps the total value and component list together.
Yes. Reusable rigs can represent different configurations, such as handheld, tripod, interview, gimbal, or travel builds, while the underlying item record stays consistent.
Audio, grip, power, media, cables, cases, and support gear can be stored as accessories or in custom categories that match your production setup.
The rig builder and QR labels are included with Pro and Studio. Pro also includes unlimited items, documents, reports, and unlimited shoot plans.
Guides and free tools
All guides
Other Use Cases
All Use Cases
Wedding photographers
Walk into every wedding knowing what is packed, paired, and ready.
Photography studios
Run the gear room like part of the studio, not a closet with expensive surprises.
Travel photographers
Know what is in the carry-on, what it is worth, and what cannot be replaced mid-trip.
Insurance records
Turn the camera bag into a documented inventory before you need to prove what was inside.

Build the package before call time.
Start with the camera chain you use most and account for every dependency around it.
- Free forever plan
- No credit card
- Import from CSV
- Mac & web